

Product schema markup helps Google understand your product pages, enabling rich results like prices, availability, and review ratings directly in search. While Shopify includes basic structured data, it is often incomplete. A manual implementation is required to provide the specific signals Google uses for enhanced product listings.
The Default Shopify Schema Is a Starting Point, Not a Solution
There's a persistent myth that Shopify "just handles" all the technical SEO. For structured data, this is partially true. Shopify themes do generate some automatic `Product` schema. But it is the bare minimum, and the bare minimum is not enough to compete.
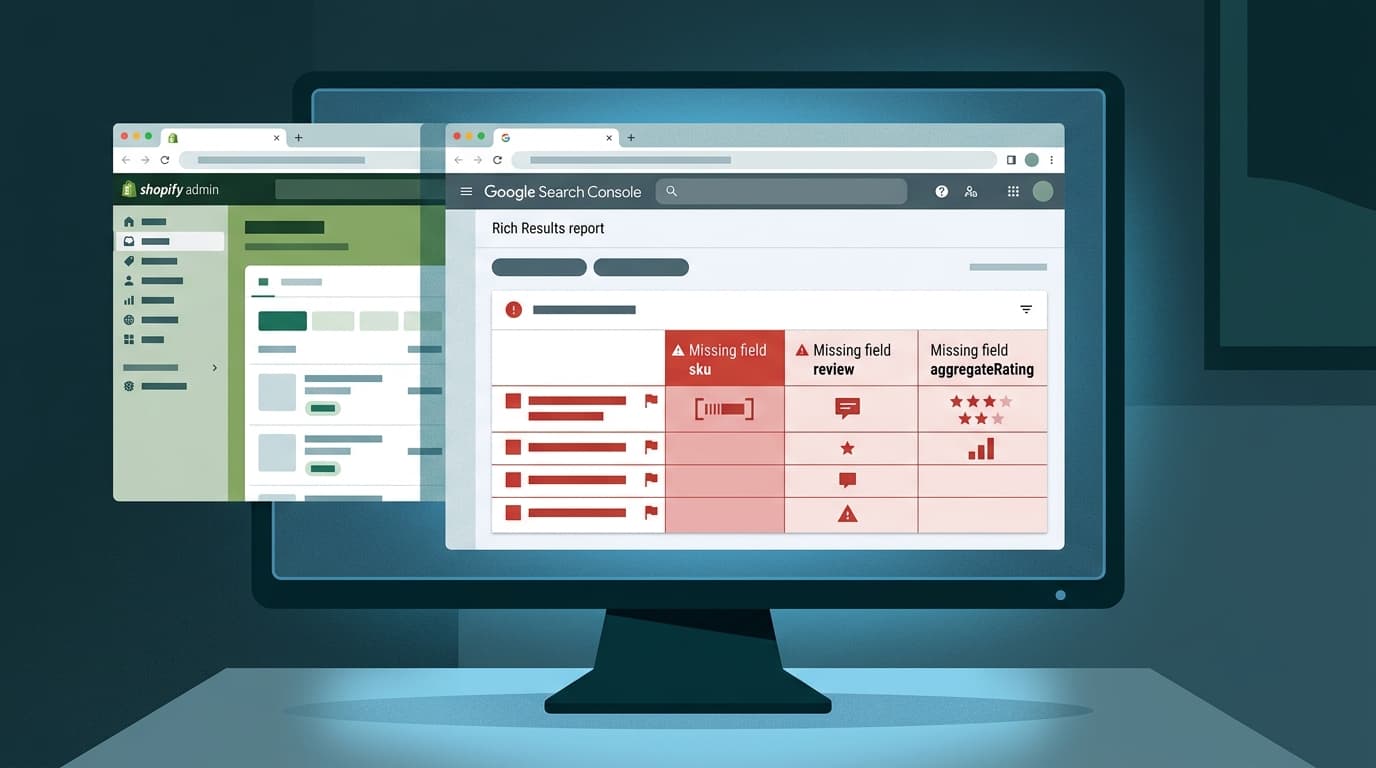
The failure mode is predictable: a store owner relies on the default settings and wonders why their products don't have review stars in search results, or why Google Search Console is full of "Missing field" warnings for `sku`, `review`, or `aggregateRating`. Shopify's default gives you presence; custom schema gives you precision.
In our experience, the default implementation consistently fails to include key properties that Google explicitly recommends for product rich results, including:
- SKUs and Global Identifiers: `sku`, `gtin8`, `gtin13`, `gtin14`, and `mpn` are rarely populated automatically, yet they are critical for disambiguation.
- Reviews and Ratings: Unless you use Shopify's own (and very limited) "Product Reviews" app, `aggregateRating` and `review` properties are almost always missing.
- Detailed Offer Information: Rich availability data like `InStock`, `OutOfStock`, and `PreOrder` is often absent.
- Brand Information: The `brand` property is crucial but frequently omitted.
Leaving these fields empty is like handing Google a product catalog with half the pages torn out. The search engine can guess, but it prefers certainty. Your goal is to provide that certainty.
Choose Your Method: An App vs. Manual Code
You have two paths to fix this: install a third-party app or edit your theme's code directly. Each has a clear, honest tradeoff.
Schema Apps: The Convenient but Costly Route
Apps are the easy way. You click install, follow a setup wizard, and the app injects the necessary JSON-LD code onto your product pages. It's fast and requires no technical skill.
The mistake to avoid: assuming "easy" means "better." Most schema apps inject another JavaScript file, adding to your page load time. They can create code conflicts with other apps, and you lose precise control over the output. You're paying a monthly subscription for a task that, once configured correctly, should not require constant intervention. The convenience is visible; the performance drag and lack of control are invisible until they become a problem.
Manual Code: The Precise but Technical Path
Editing your theme's Liquid files gives you complete control. You can build a perfect, lightweight JSON-LD script that uses exactly the product data you want to surface. It adds zero performance overhead and has no recurring cost.
The honest version is that this requires care. A misplaced comma or bracket in a Liquid file can break your entire product page template. But for anyone willing to follow instructions carefully, it is the superior, more durable solution.
Step-by-Step: Adding Custom Product Schema to Your Shopify Theme
This process involves creating a custom code snippet and including it in your theme. This isolates your changes and makes them easy to manage.
Step 1: Audit Your Current Schema
First, see what you're working with. Take one of your live product URLs and paste it into Google's Rich Results Test tool. Look at the detected `Product` item. Pay close attention to the warnings and missing fields. This is your baseline.
Step 2: Create a New Liquid Snippet
This is where we build the structured data script.
- From your Shopify Admin, go to Online Store > Themes.
- On your current theme, click the three-dots icon and select Edit code.
- In the code editor, find the Snippets directory and click Add a new snippet.
- Name the snippet
custom-product-schemaand click Done. - Paste the following code into your new `custom-product-schema.liquid` file.
<script type="application/ld+json">
{
  "@context": "https://schema.org/",
  "@type": "Product",
  "name": {{ product.title | json }},
  "url": {{ shop.url | append: product.url | json }},
  {%- if product.featured_image -%}
    "image": [
      {{ product.featured_image | image_url: width: 1200 | prepend: "https:" | json }}
    ],
  {%- endif -%}
  "description": {{ product.description | strip_html | strip_newlines | json }},
  {%- if product.selected_or_first_available_variant.sku != blank -%}
    "sku": {{ product.selected_or_first_available_variant.sku | json }},
  {%- endif -%}
  {%- if product.vendor != blank -%}
  "brand": {
    "@type": "Brand",
    "name": {{ product.vendor | json }}
  },
  {%- endif -%}
  {%- if product.metafields.reviews.rating.value -%}
  "aggregateRating": {
    "@type": "AggregateRating",
    "ratingValue": "{{ product.metafields.reviews.rating.value }}",
    "reviewCount": "{{ product.metafields.reviews.rating_count.value }}"
  },
  {%- endif -%}
  "offers": {
    "@type": "Offer",
    "url": {{ shop.url | append: product.url | json }},
    "priceCurrency": {{ cart.currency.iso_code | json }},
    "price": {{ product.price | divided_by: 100.00 | json }},
    "priceValidUntil": "{{ 'now' | date: '%Y' | plus: 1 }}-12-31",
    "itemCondition": "https://schema.org/NewCondition",
    "availability": "https://schema.org/{% if product.available %}InStock{% else %}OutOfStock{% endif %}"
  }
}
</script>
A note on reviews: The code above assumes you are using Shopify's native metafields to store review data. If you use an app like Judge.me or Yotpo, you will need to find their specific Liquid variables to pull in `ratingValue` and `reviewCount`, or ensure their app is already outputting correct review schema. Combining schema from multiple sources often causes conflicts.
Step 3: Include the Snippet in Your Theme
Now, tell your theme to load this snippet on product pages.
- In the code editor, open your
theme.liquidfile located in the Layout directory. - Scroll to the bottom of the file, just before the closing
</body>tag. - Paste the following line of code:
{%- if product -%}
  {%- render 'custom-product-schema' -%}
{%- endif -%}
This code checks if the current page is a product page (`if product`) and, if so, renders your new schema snippet. This ensures the script only loads where it's needed.
Step 4: Validate Your Implementation
Save your changes to theme.liquid. Go back to the Rich Results Test tool. Re-run the test on the same product URL. Your new, more complete schema should appear with fewer (or zero) warnings. The goal is a green "Valid item detected" message.
The Concrete Handoff
Once your schema is live and validated, the work shifts from implementation to monitoring. Go to Google Search Console and find the Enhancements > Products report. It will take Google some time to recrawl your site, but over the next few weeks, you should see the number of "Valid" items increase and "Items with warnings" decrease. This report is where you confirm that the new structured data is being successfully parsed and used.
Product Schema Markup for Shopify: A Step-by-Step FAQ
What is the difference between JSON-LD and microdata for Shopify schema?
JSON-LD is a JavaScript-based notation that can be placed in one block anywhere on the page, making it easy to manage. Microdata involves adding tags directly to your HTML elements, which can be brittle and hard to maintain within Shopify's Liquid templates. Google prefers JSON-LD, and it is the modern standard.
Will adding product schema guarantee rich results?
No. Correctly implemented schema makes you eligible for rich results, but it does not guarantee them. Google's algorithms make the final decision based on search query, device, location, and overall site authority. However, without the correct schema, your chances are effectively zero.
My Shopify theme already has an app for reviews. How does that affect my schema?
Most major review apps (like Judge.me, Yotpo, Loox) inject their own `Product` schema to display review stars. This can create duplicate schema on the page. In this case, you should modify your custom snippet to remove the `aggregateRating` section and let the app handle that part. Test your page to ensure there is only one `Product` object being declared to avoid confusing Google.