They say that a picture is worth a thousand words, but how many sales is a professional looking product picture worth? No matter what kind of eCommerce store you’re running, one of the things you’ll need is product photos. This post will explain how to take professional looking product photos, on an amateur’s budget, all with your smartphone.
There are a few different ways to get your product photos taken. You could hire a professional photographer to take your product pictures. This would be easy and hassle free, but also expensive. There are also online services that will take photos of sample products you send in, retouch them, and send them back for a minimal fee. However, if you want to get your product photos taken for as little as humanly possible, and learn a little about photography while you’re doing it, I recommend the DIY approach. There are many different ways to go about taking your own product photos. There are tutorials online for whatever level of complexity you want to tangle with. The process below is a bare bones, dead simple, DIY method.
The Set Up
Things you’ll need:
- A smartphone
- A tripod
- A table
- A window
- White mat board
- White foam core
- Tape
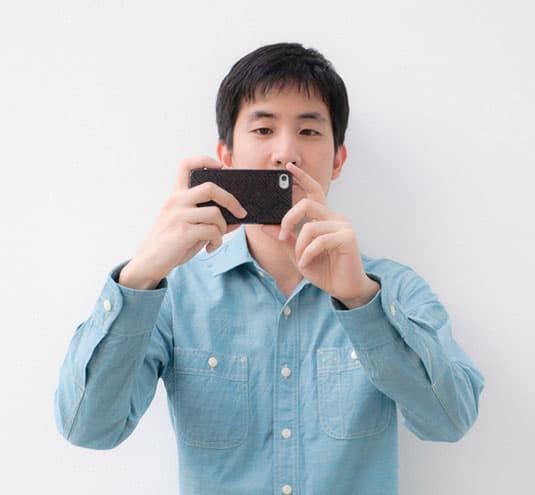
The Smartphone:
A good camera is nice to use if you have one, but it’s not completely necessary. A DSLR camera is ideal, but for our bare bones approach we’ll be using a camera everyone can get a hold of, a smartphone. I recommend one that’s working with at least 8 mega pixels. That means the iPhone 5s will work, but the 6s jumps up to 12 mega pixels. The Samsung Galaxy S5 and S6 both have 16 mega pixel cameras, so get a hold of one of those if you can. All these phones have autofocus, which we’ll be using as well. You can bump up the quality of your iPhone’s camera by downloading the Camera+ app for $2.99. Androids have an app called Camera Zoom FX, which costs about the same. If you want to play around with lenses, magnetic lenses that attach to your phone are available. On the lower price end, photojojo.com sells them for $20 a pop.
The Tripod:
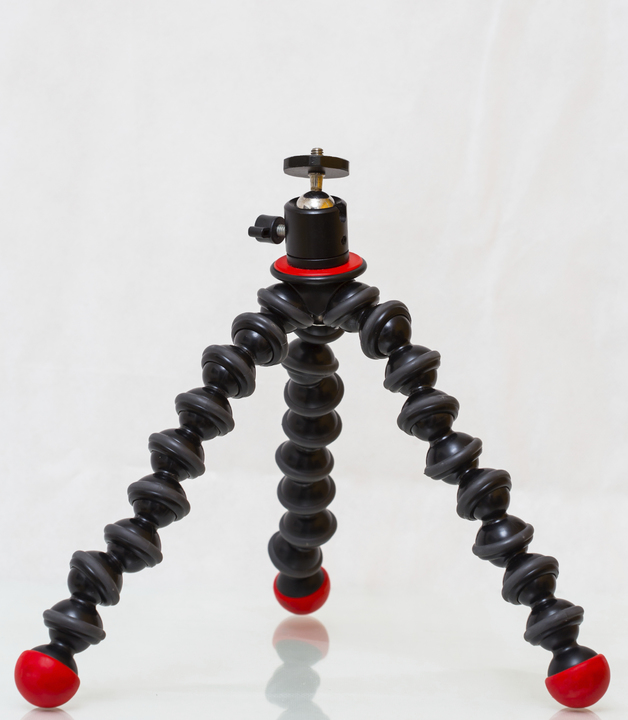
A tripod will make sure that your product images don’t come out blurry, and that you can adjust your set up just right. Tripods designed specially for smartphones are available online for between $10 and $30.
The Table:
Nothing too complex here. A simple card table will do it.
The Window:
Lighting is important for taking your product photo. A professional would use a light box to make sure that the lighting is even on the product. There are plenty of tutorials online detailing how to build your own light box on the cheap. You can also buy one online for between $50 and $100. For this method we’ll be using the natural light from a window, so choose one that’s big and gets a lot of sunlight.
The White Mat Board and White Foam Core:
Both these materials can be acquired at your local art supply store for a few bucks. The white mat board will provide the background for the shot and the foam core will reflect the natural light onto the product. We’re aiming for professional looking product-on-white photography here so make sure you get pure white materials.
The Tape:
Any tape will cut it, but a sturdier duct or masking tape will be preferable to a flimsier scotch tape.
The Photo Shoot:
Start by choosing your window, and setting up your table next to it. The table should be close enough to the window that it’s getting a lot of natural light, but not so close that the sunlight is shining on the product directly, as that might look too harsh. Natural light is the only light source you’ll need so turn off all other lights in the room. You’ll also want to set up your table so it abuts a wall that is perpendicular to your chosen window, that way the light is hitting your product from the side.
Take your white mat board and place it so it curves up from the table and onto the wall. Then tape it in place, both to the table and the wall. Leave enough mat board on the table to fit your product on top of. Take a piece of the white foam core and break it at the center. Not so much that it breaks into two halves, but enough that it can fold into a V shape. Place the V shaped foam core with its concave side facing toward the window, just off of the center of the mat board. Then place your product in the center of the mat board. The foam core should reflect light onto the side of your product that is not facing the window.
Put your smartphone on the tripod and set the tripod up to shoot the product dead on. You should take at least one or two of these before you experiment with other camera angles. You can also experiment with rotating the table so the light hits your product at different angles. When gearing up to take your pictures, turn the flash off and set image quality to the highest possible setting. It’s also a good idea to turn on your live exposure setting. This will allow you to take note of your phone’s exposure setting, and play around with them if you want to. When framing the shot you’ll want to fill the frame with your product, but leave enough space on the sides in case cropping is necessary.
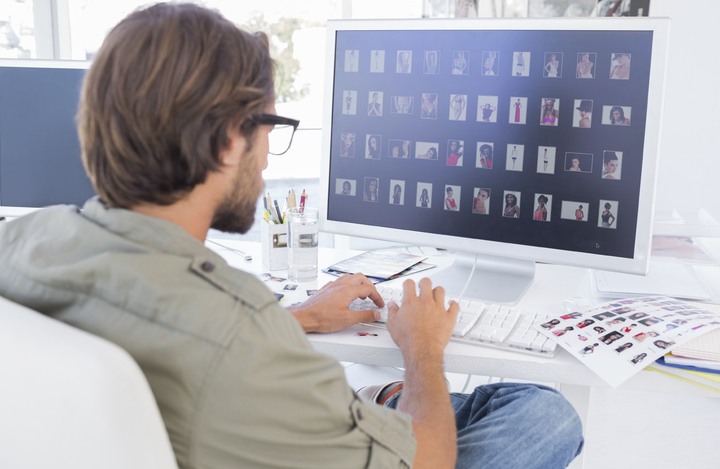
Retouching:
For the amateur photographer, retouching will be the hardest part. Thankfully, this job is somewhat cheap to outsource. No matter how well you’ve done with the shoot, the background of your image will come out light gray instead of the pure white that you want. Adobe Photoshop and Adobe Lightroom are the preferred tools if you’re going to attempt your own retouching. If you’re looking for a challenge, and want to do this process entirely on your smartphone, Photoshop has mobile apps available. Photoshop’s auto tone and brightness contrast tools will work to change the shade of the background of the image. You can also use the magic wand tool to select the image and remove the background. If you’re not trained in the ways of Photoshop, there are online services that will retouch images you send them for between $4 and $10 per image.
Now you should have professional product images created on an amateur’s budget. However, if you have neither the time, nor the inclination to become an amateur photographer, you can leave this important job to the professionals. 1Digital Agency now offers product photography as part of our ever expanding eCommerce bag of tricks. Just send us sample products and we’ll send you back beautiful professionally edited product photos that will look fantastic on your product page.